Little Wife On the Prairie


When you are everything to everyone, well, you had better act like you have it all together.


Showing posts with label canning. Show all posts

Thursday, June 5, 2014

Fermented Daikon

If you read my blog last year, you know how I have fallen in love with fermenting.  My experience thus far has been limited to pickles and yogurt. 
 
A few weeks ago I got 4 daikon radishes (or daikon root) in my
Bountiful Basket contribution. (click the link for info)  I was a little shocked and a lot confused.  I had never even seen a Daikon much less cooked with one. 
 
After searching a bit I found that Daikon make great pickles.  There were tons of recipes for refrigerator pickles.  I finally found a few that suggested fermenting and I was done looking!
 
The week before my sweet mother-in-law gave me an awesome birthday present.  A pickling crock!  I was so excited to use it and this seemed like the perfect chance.  
 
 I began by peeling the root. 
 
 Then I cut them into coins.
 
 Not too thick.
 
 Then I salted them.  It will pull away the little bit of bitterness that is in the root.
 
 After letting them sit for 30 minutes or so, I gave them a really good rinse to remove the salt and liquid that came off of them.
 
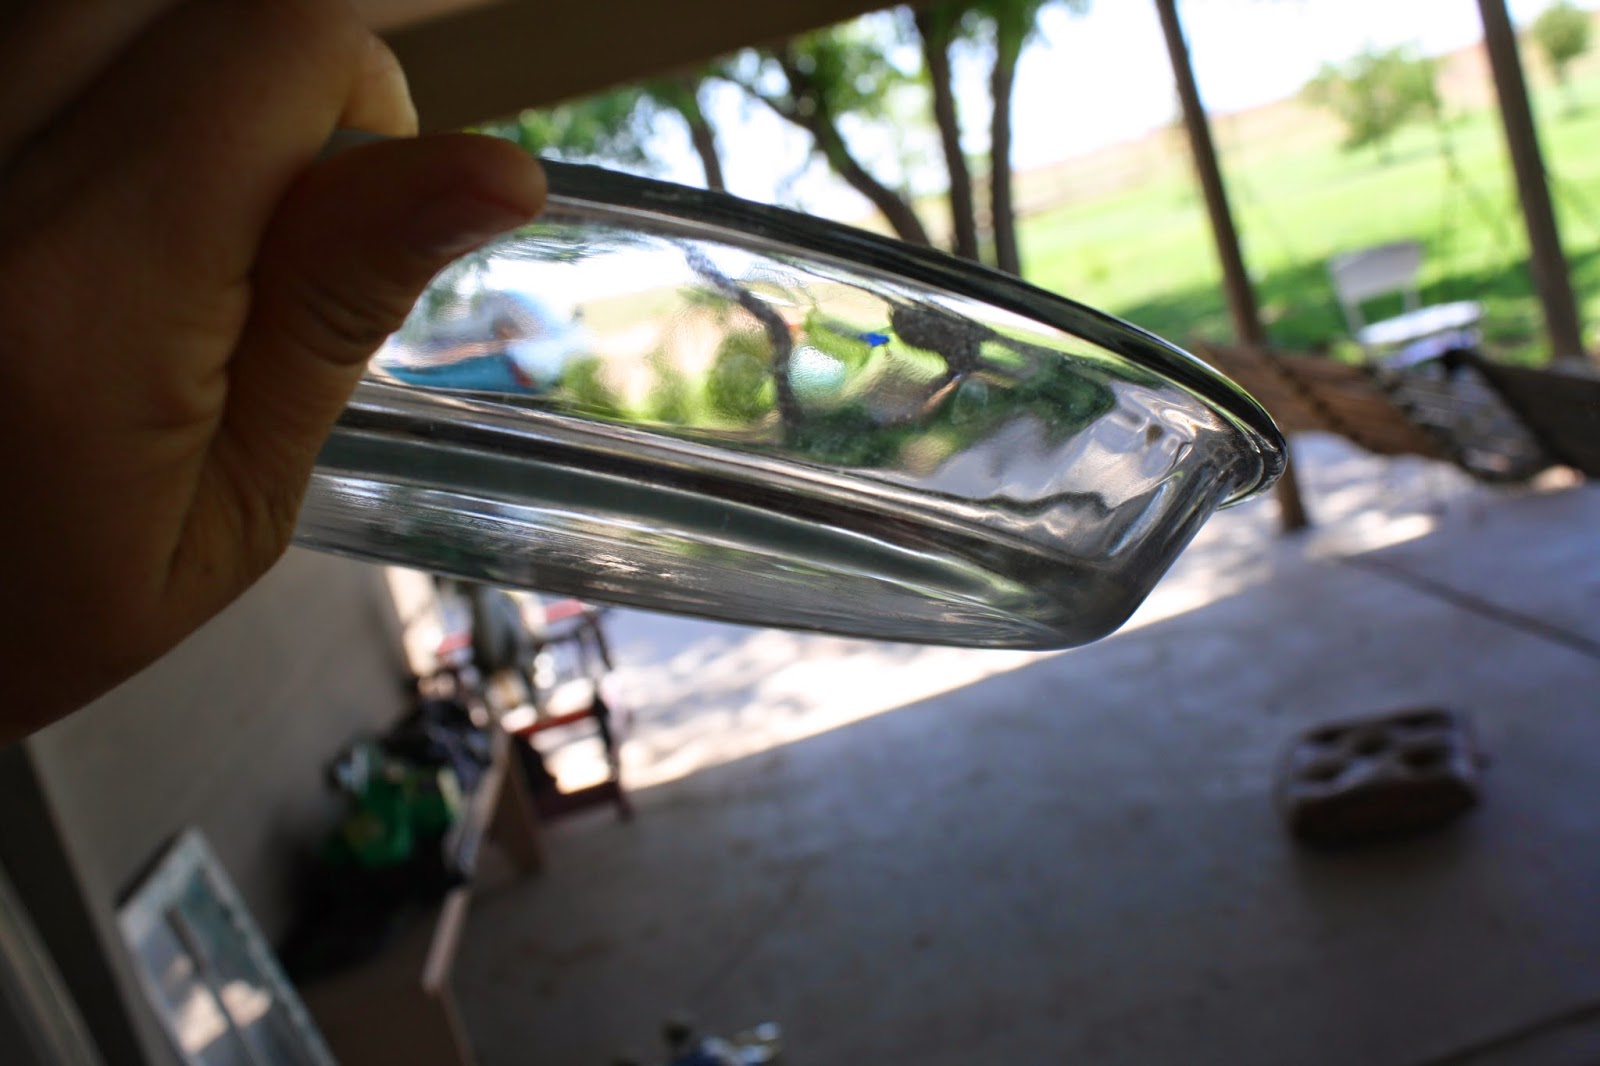
 My crock needed a weight to keep the root under the brine solution.  This Pirex lid fit perfectly!
 
 I put the daikon into the crock (I added a few cloves of garlic 'cause that's how I roll) and then covered them with brine.  I used the lid to weight the root down into the brine.  You don't want anything exposed to air.  That is how you get mold and grossness.  You do not want fermented grossness. 
 
 As the fermenting process began, we noticed a smell.  It could only be described as...well...smelling like another natural form of fermentation that occurs in the human body.  Say after a big bowl of beans.  Sorry, I had to go there.  Matt had the wonderful idea to cover it with this pie plate which fit perfectly and kept all of the gassy smells inside.
 
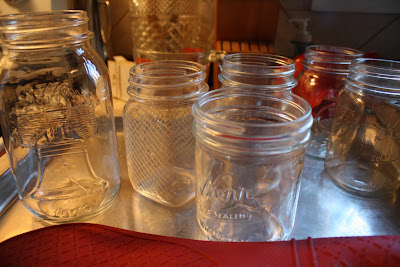
 After several weeks of fermentation, (and leaving them well alone!) it was time to test them.  They still smelled a little stinky but the taste was wonderful!  I think the Daikon just has a funky, radishy aroma.  I packed them into quart jars.
 
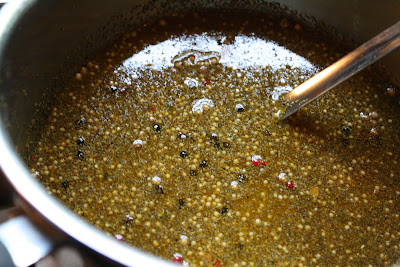
 Then I ladled the fermented brine to cover them.  I put the lid on and store them in the fridge where they will keep for a LONG time!  You could can them at this point but the processing would rob you of all the raw, probiotic goodness that you get from fermentation.
 

3 out of the 5 kids loved them.  I loved them.  Matt still hasn't tried them but I think he will.  They have that wonderful tangy flavor that the fermented pickles had last year.  I am so happy with the crock!  It was so much better than using glass jars.  Thank you Grandmolly!!!
 
Here is the brine recipe and the link to the site that I used for instruction.  Now go ferment something!


Wednesday, December 21, 2011

Jelly and you

Okay, so it's really jelly and me.  But it so easily could be jelly and you!  I want to show you how simple it is to make a batch of jelly.  The hardest part is getting the juice.  You can do that on your own by juicing your own fruit or you can buy 100% fruit juice from the store.  Jams are even easier because you can use frozen fruit if you don't have fresh. 

Today we are making jelly.  Apple jelly.  Remember this, trip to the apple orchard?  Well, the apple were so small that they were very hard to peel.  You know what they say, if you can't peel 'em, juice 'em!  Hahahaah...no?  Okay, well, we will move on. 

I used a steam juicer to get all of the goodness out of the apples, then I threw the remains to the chickens.  They were not appreciative of the sacrifice.  Dumb things. 

After I had that liquid gold! I decided to do what any busy mother would do.  I stored it in the fridge until I could find time to make some jelly.

The time came today!  Hooray!  I had my waterbath canner on the stove for a week.  It was calling to me.  So I decided to do it.  Jelly used to be a big process for me.  Now it's something I can do, juice to jelly, in less than an hour.  And that's two batches!  If you can get a system going, it makes it easier.  Here is my system.

I bring the measured amount of juice plus the box of pectin to a boil (measurement will depend on the juice and will be listed on the instructions in the pectin box.)  Then I add the measured amount of sugar (this too will be listed on the instructions.) 

While I am waiting for the second boil, I set a timer for one minute. 

Here is the part where you have to be patient.  The mixture must come to a rolling boil before you start your time, not a soft boil!  A rolling boil should not be able to be stirred down and should look foamy.  Keep stirring during your minute boil.  When the minute is up, take the jelly off of the heat.

Oh yeah, I need to tell you an important part. FAVORITE CANNING TIP EVER!   Before you begin, stick you clean jars on a cookie sheet and put them in the oven on 210 degrees for at least 20 minutes.  This will steralize the jars without the mess and time of boiling them.  Then when you are ready to fill them, the jars are hot and ready to go.  Brilliant!

Fill the hot jars with jelly.  Leave a 1/4 of an inch of headspace.

I keep a small pan of water almost at a boil.  Then I can steralize and heat my lids before they go on the jars.

Wipe your rims clean.  (I use a wet paper towel or a clean rag.) Then place the lid on the jar and apply your rings.  Do not over-tighten.

Place them in the warming waterbath canner.  Let them come to a boil and then start your time.  The instructions will tell you how long to process them.  Mine processed at 5 minutes for the pints, 10 minutes for the quarts.  Some people will say that jelly doesn't need to be processed but I always do!

After the time is up, I let the jars cool for a few minutes on the canner rack.

Then I pull them out to cool on the counter and listen for the ping of victory! ( that means your jars are sealed!)  Remember to tighten your lids again after they have been processed so that you get a good seal.

It will take a few hours or a few days for the jelly to set.  It just depends on the fruit.  Don't get discouraged if it doesn't set right away.  If it doesn't set after two weeks, you can remake it (which is easy but kind of annoying) or you can use it as syrup.  We have had some delicious pancakes that way!


I really hope some of you get inspired to try this.  It's easy!  You can do it!  Homemade jelly is just one of those things that can't be duplicated in the the store.  Plus, they make great gifts.  We gave jalapeno jelly, a block of cream cheese and a box of Wheat Thins as teacher gifts this week.  Last year I was able to give grape jelly to several of the school staff at the end of the year.  It's a fun thing to give and it makes you look like you are a master in the kitchen even if all you can do is boil water!  Let me know if you give it a try!

Thursday, August 11, 2011

What to do with the things we grow...

This is where the child labor comes in.  And it is just dandy.  All kidding aside, it's good for them.  They get to be a part of the cycle of our home.  They have responsibilities.  They feel like an important link in the chain.  Plus, now that they are bigger, it really cuts down my load!  They are actually helpful.  I have come to depend on them.  I love that bond we have built.  I am hoping that knowing what goes into running a household will make them more thoughtful about how they live. 

My Asher-man loves to help in the kitchen.  I put him on food processor duty!

I know, I know.  This looks dangerous.  But we have taught him how to work safely with a knife.
See how good he does!


Jolie was helping too so Levi decided that he needed to help.  So we gave him a "baby" knife and a banana. 
He did just what his siblings were doing. 

I took the zucchini that the kids sliced for me and blanched it to prepare it for freezing.

Then I packed it, in usable portions, into freezer bags

We also did some in shreds for breads and spaghetti sauce.  It's a good way to trick the kids into eating zucchini.

This is a very special jar.  It is not only a neat jar, but it belonged to my Great-Grandmother Gilger. 
Isn't is beautiful?

My sweet Papa gave me this jar too.  It is special to be surrounded by things that belonged to people that I love!

I have been in a canning state of mind.  These green beauties are going to be pickled!  Our peppers have done great this year.


I get the whole clean kitchen thing.  I do love it when mine is clean.  But this is how I really like to see it!
Lots of hours of love have been poured out in this place.

Lots of love and lots of yummy things.
 These babies will be just delicious on a big bowl of chili or beans this winter!

Wednesday, July 20, 2011

In a pickle? (Bet you can't guess where this is going.)

We came back from our week in New Mexico to a garden full of giant squash.  So what's a girl to do?  I can tell ya what this girl did.  I made pickles!  Spicy bread and butter pickles to be exact.
  

Last year, I bought the mix from the store for bread and butter pickles.  But I really didn't like all of the ingredients.  This year, I found a recipe that I liked and tried it out.  I had to buy the spices, which did cost some money but I can make several batches.  This is mustard seed, celery seed, ginger, tumeric, and peppercorn.   

I sliced the squash (patty pan) with some white onion and then gave it a ice cold bath.  This seems to help the squash stay a bit more crisp when pickled.

I sliced some jalapeno from the garden.

I mixed the spices with some sugar.  These are bread and butter pickles so them must have sugar!

Then I pulled out my trusty gallon of white vinegar.

I mixed the vinegar with the spices and put it on the stove to boil.

While I was waiting, I drained the squash and packed it into a clean and sterilized jar along with a half of the jalapeno.  Then you ladel the boiling hot spiced liquid over the squash.  You need to tap the jar to get rid of the air bubbles then leave about 1/4 inch at the top of the jar. 

I wiped the rim of the jars to make sure they were clean then I put on the lids and rings and dropped the jars into a waterbath.

After boiling for 10 minutes we have pickles!  Actually, they need to sit for about 2 weeks to get the best flavor.  It's hard to wait but it will be worth it.  See the yellow color?  That's the tumeric, not Yellow #5!


This is not a recipe but I do have a recipe.  If anyone is interested in the actually recipe that I used, leave a comment with your e-mail address and I will send it to you.  Otherwise, you can find a recipe that suits you online.  It's important to find one that is specific to your tastes.  That is why I didn't post this one!  I just wanted to show you how easy it is to do yourself.  Here are a few sites that have similar recipes:

http://pickyourown.org/breadandbutterpickles.htm

http://www.mtnlaurel.com/Recipes/squashpickles.htm

http://www.justapinch.com/recipe/lisa-crum/bread-and-butter-squash-pickles-regular-and/vegetarian-vegetable-appetizer


Wednesday, June 1, 2011

Canning salsa.

Before Matt and I got married, I had a beautiful bridal shower where the attendants all gave me their favorite recipes.  If you ever have to throw a bridal shower, I recommend doing this.  I have used many of those recipes and some of them have become our favorites.  This is one of them.  My mother-in-law Molly Jo, A.K.A. Grandmolly, has this killer recipe for a cooked and canned salsa.  It is wonderful to have pints of it in the pantry to grab for soft tacos or to have with chips when company stops by. 

I decided to blog this recipe after I had already started cooking so it is not quite a step-by-step.

Here is the handwritten recipe card.  I LOVE the chicken!  Please people, do not stop handwriting recipe cards.  I love the personal nature of handwriting.  Keep it alive!

As the recipe states, I processed (in a food processor) 2 pounds jalapenos (about 15-20 depending on size), 6 yellow-hot peppers, 3 medium onions and 1 head of garlic.  In a large stock pot, I added the juice from the canned tomatoes and simmered these veggies until they were tender.

Then I processed my giant gallon can of tomatoes plus 2 more 12oz cans.  I ended up with a ton of the pepper mixture so I felt like I had to add the 2 extra cans of tomatoes.  You do what you please.

Then I added them to the veggies.

Stir it up and it looks like salsa!  But it's not ready yet.

Here is the kick and the acid you need to can this salsa.  You add 1/4 cup white vinegar.  I added a few extra Tbs because of the extra tomato. 

The recipe calls for 2-3 Tbs of salt.  I go to 3 almost every time.  I like salt.  After you get everything mixed together, simmer salsa for 30 minutes.

I did not get a picture of the jar sterilization but it is an essential part of the process.  If you don't do it right, you'll end up with spoiled salsa.  It will make you cry.  I have learned a great method for getting sterile jars.  You wash them in hot soapy water and then put them on a cookie sheet and into a 225 degree oven.  No boiling!
 Here is the link to specific directions.

You then fill these hot jars with the hot salsa.  Fill it about 1/2 inch from the top.
You have to sterilize the lids too.  You don't want spoilage!  I use a shallow pan for my lids.  I only leave them in this almost boiling water for a few minutes.

I then process them in a water bath for 25-30 minutes.

Here is the finished product.  After you remove them from the water bath, you will start to hear the "ping" of the jars sealing.  These sealed jars that are shelf-stable for a long, long time.  It never lasts that long. 


I wish I had a picture of us enjoying the salsa. But it was far too (temperature) hot to eat at the time of photographs!  Let me know if you try this!  Also, please ask if I lost you along the way.  I will be happy to answer what I can!  Another also, this salsa is pretty spicy.   It's a New Mexico version of salsa.  The heat will vary on the temperment of the peppers.  Just be aware.